自己的 VPN
为了简化操作,我们提供了预配置 VPN Statefile。
它基于 @Lin Song 的 hwdsl2/docker-ipsec-vpn-server ,可从官方 Nanocl 仓库 使用。
nanocl state apply -fs nr.next-hat.com/v0.18/ipsec查看这个 Statefile 的手册:
nanocl state man -s nr.next-hat.com/v0.18/ipsec如果需要超出 Statefile Args 的自定义能力,可以下载文件并按需求修改:
wget nr.next-hat.com/v0.18/ipsecVPN Statefile 的内容如下:
ApiVersion: v0.18

Args:
- Name: namespace
  Kind: String
- Name: public-ip
  Kind: String
- Name: dns
  Kind: String
  Default: "1.1.1.1"

Namespace: ${{ Args.namespace }}

# See all options:
# https://docs.next-hat.com/references/nanocl/objects/cargo
Cargoes:
- Name: vpn
  PortBindings:
    500/udp:
    - HostPort: "500"
    4500/udp:
    - HostPort: "4500"
  Containers:
  - Name: vpn
    Image: hwdsl2/ipsec-vpn-server:latest
    Env:
    - VPN_PUBLIC_IP=${{ Args.public-ip }}
    - VPN_DNS_SRV1=$$INTERNAL_GATEWAY
    - VPN_DNS_SRV2=${{ Args.dns }}
    - VPN_L2TP_NET=192.168.42.0/16
    - VPN_L2TP_LOCAL=192.168.42.1
    - VPN_L2TP_POOL=192.168.42.10-192.168.42.254
    - VPN_XAUTH_NET=192.168.43.0/16
    - VPN_XAUTH_POOL=192.168.43.10-192.168.83.254
    HostConfig:
      Binds:
      - /opt/vpn:/etc/ipsec.d
      - /lib/modules:/lib/modules
      CapAdd:
      - NET_ADMIN
      Devices:
      - PathOnHost: /dev/ppp
        PathInContainer: /dev/ppp
        CgroupPermissions: rwm
      Sysctls:
        net.ipv4.ip_forward: "1"
        net.ipv4.conf.all.accept_redirects: "0"
        net.ipv4.conf.all.send_redirects: "0"
        net.ipv4.conf.all.rp_filter: "0"
        net.ipv4.conf.default.accept_redirects: "0"
        net.ipv4.conf.default.send_redirects: "0"
        net.ipv4.conf.default.rp_filter: "0"
        net.ipv4.conf.eth0.send_redirects: "0"
        net.ipv4.conf.eth0.rp_filter: "0"
使用方式:
nanocl state apply -fs nr.next-hat.com/v0.18/ipsec -- --namespace private --public-ip $(curl -s http://ipinfo.io/ip)上面的文件为 VPN 创建了自定义 DNS。
这样可以创建或覆盖已有域名,并将其指向 Cargo。
连接 VPN 前,可以用以下命令获取凭据:
nanocl cargo -n private logs vpn你应该看到类似内容:
================================================

IPsec VPN server is now ready for use!

Connect to your new VPN with these details:

Server IP: server-public-ip
IPsec PSK: secret-psk
Username: vpnuser
Password: secret-password
VPN 连接方法因系统而异,这里不再介绍。
可以阅读镜像的官方文档 了解详情。
现在可以在任意命名空间创建 Cargo,并让 VPN 访问,例如:
ApiVersion: v0.18

Namespace: global

# See all options:
# https://docs.next-hat.com/references/nanocl/objects/cargo
Cargoes:
- Name: deploy-example
  Containers:
  - Name: web
    Image: ghcr.io/next-hat/nanocl-get-started:latest
    Env:
    - APP=GET_STARTED1

# See all options:
# https://docs.next-hat.com/references/nanocl/objects/resource
Resources:
- Name: vpn-dns
  Kind: ncdns.io/rule/v0.10
  Data:
    Entries:
    - Name: my-domain.internal
      IpAddress: Internal

- Name: my-domain.internal
  Kind: ncproxy.io/rule/v0.15
  Data:
    Rules:
    - Domain: my-domain.internal
      Network: Internal
      Locations:
      - Path: /
        Target:
          Key: global.deploy-example.c
          Port: 9000
这里大量使用 private.nsp,它引用 private 命名空间的网关。如果使用其他命名空间,需要相应修改。
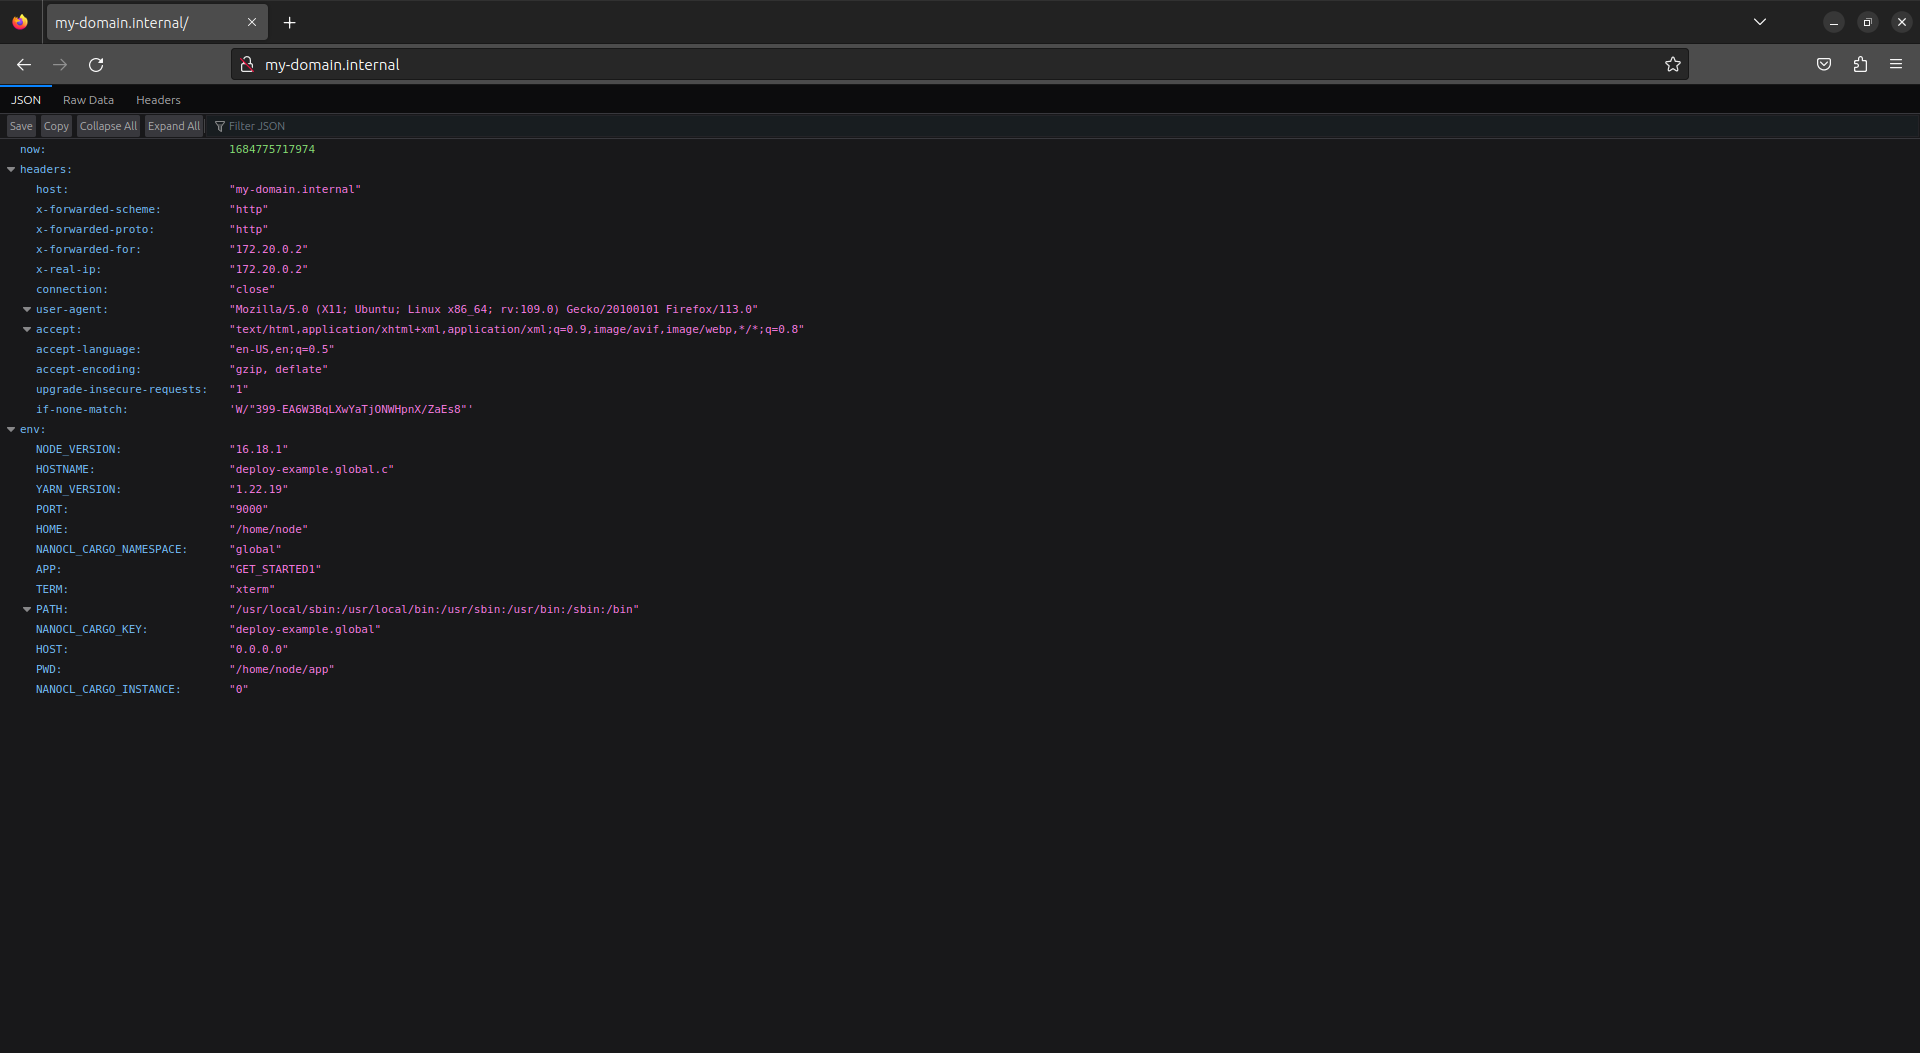
应用这些设置后,即可访问 http://my-domain.internal 。
最后更新于