容器化
容器化是一种常见的软件开发和部署技术,将应用及其依赖打包到单个轻量容器中。容器可部署到支持容器技术的任意机器,如 Docker 、Kubernetes 或 Nanocl ,无需分别安装应用和依赖。
容器化提高可移植性和扩展能力,并简化部署与管理。将应用和依赖隔离在容器中,也能加强安全性,降低不同软件组件冲突的风险。
容器化日益普及,已成为现代软件开发和部署的重要工具。无论是开发者、系统管理员还是 IT 管理人员,理解容器化基础都有助于提升应用效率和可靠性。
项目结构
开始前,确保系统中已安装 Docker 。
Docker 的安装方式有多种,这里不再介绍。
假设使用单一代码仓库,你可以将文件托管到 GitHub 或其他代码平台。
本指南采用下面的项目结构:
my_project/
├── my-app/     # Frontend app
└── my-api/     # API
示例文件托管在 GitHub 。
如果已经熟悉容器镜像构建,可以跳过这一部分,直接克隆仓库继续后面的步骤。
首先创建项目主目录并进入:
mkdir my_project
cd my_project
这个结构将前端和后端服务分离,便于独立开发,简化开发、测试和部署,并提高应用整体扩展能力和可维护性。
接下来创建项目结构,开始构建前端和后端服务!
配置简单前端
前端从简单的 create-react-app 模板开始。
如果你打算使用 React,我们建议选择 Next.js 或 Vite 。
如果使用其他框架,需要将前端构建到静态目录。
Next.js 或 Vite 等工具能够简化前端开发,提高性能和扩展能力,提供服务端渲染、静态站点生成等高级功能,方便构建高质量现代 Web 应用。
下面为应用配置简单前端并开始构建!
创建项目
使用以下命令创建名为 my-app 的前端应用目录:
npx create-react-app my-app
cd my-app
npm run build
这会在 my-app/build 中构建简单前端应用。
create-react-app 会显示以下消息:
The build folder is ready to be deployed.
You may serve it with a static server:

  npm install -g serve
  serve -s build
不建议使用 serve 等 Node 服务器提供前端服务,因为性能较差。
我们使用 Nginx 容器提供前端文件。
创建容器镜像
进入 my-app 目录,新建 Dockerfile 并写入以下内容:
# stage 1 - Build our application
# From the latest nodejs lts version
FROM node:18.14.2-alpine AS BUILDER

# Create our app folder
RUN mkdir /app
# Set is as cwd
WORKDIR /app

# Install app dependencies
# A wildcard is used to ensure both package.json AND package-lock.json are copied
# where available (npm@5+) doing this will cache this action untill package.json or package-lock.json is modified
COPY --chown=node package*.json ./

# Install dependencies
RUN npm install

# Bundle app source code
COPY --chown=node . .
RUN npm run build

# stage 2 - Create app image
# From latest nginx version on alpine to have a small image
FROM nginx:1.23.3-alpine

# Copy our build directory
COPY --from=BUILDER /app/build /app

# Copy our default nginx config
COPY ./server.nginx /etc/nginx/conf.d/default.conf
构建镜像之前,创建包含以下内容的 my-app/server.nginx:
server {
  listen       80;
  listen  [::]:80;

  ## Auto index file in /app
  autoindex on;
  root /app;
  try_files $uri/index.html $uri.html $uri/ $uri =404;
  error_page 404 /404.html;

  ## Enable gzip compression
  gzip on;
  gzip_vary on;
  gzip_proxied any;
  gzip_comp_level 6;
  gzip_types image/webp image/png text/html text/plain text/css text/xml text/javascript application/x-javascript application/javascript application/xml font/eot font/otf font/ttf;

  ## Disable gzip for internet explorer compatibility..
  gzip_disable "MSIE [1-6]\.";

  ## Cache all static files
  location ~* ^.+\.(?:css|cur|js|jpe?g|gif|htc|ico|png|html|xml|otf|ttf|eot|woff|woff2|svg)$ {
    access_log off;
    expires 30d;
    add_header Cache-Control public;

    ## No need to bleed constant updates. Send the all shebang in one fell swoop.
    tcp_nodelay off;

    ## Set the OS file cache.
    open_file_cache max=3000 inactive=120s;
    open_file_cache_valid 45s;
    open_file_cache_min_uses 2;
    open_file_cache_errors off;
  }
}
这份 Nginx 配置会为它处理的所有请求提供前端静态文件。
在 my-app 中添加 .dockerignore,让构建忽略 node_modules 和 build 目录。my-app/.dockerignore 内容如下:
node_modules
build
这样可以加快构建。
创建 server.nginx 和 .dockerignore 后,用以下命令构建 Docker 镜像:
docker build -t my-frontend:0.0.1 -f ./Dockerfile .这里使用了以下 Docker 参数:
build:构建镜像。-t:设置镜像标签,通常为 image_name:version。my-frontend:0.0.1:本指南选用的镜像标签。-f:指定 Dockerfile 路径。./Dockerfile:构建镜像使用的 Dockerfile。.:构建上下文。
测试容器镜像
使用以下命令测试前端镜像:
docker run -it --rm -p 8080:80 my-frontend:0.0.1这会启动容器,将主机 8080 端口映射到容器 80 端口。
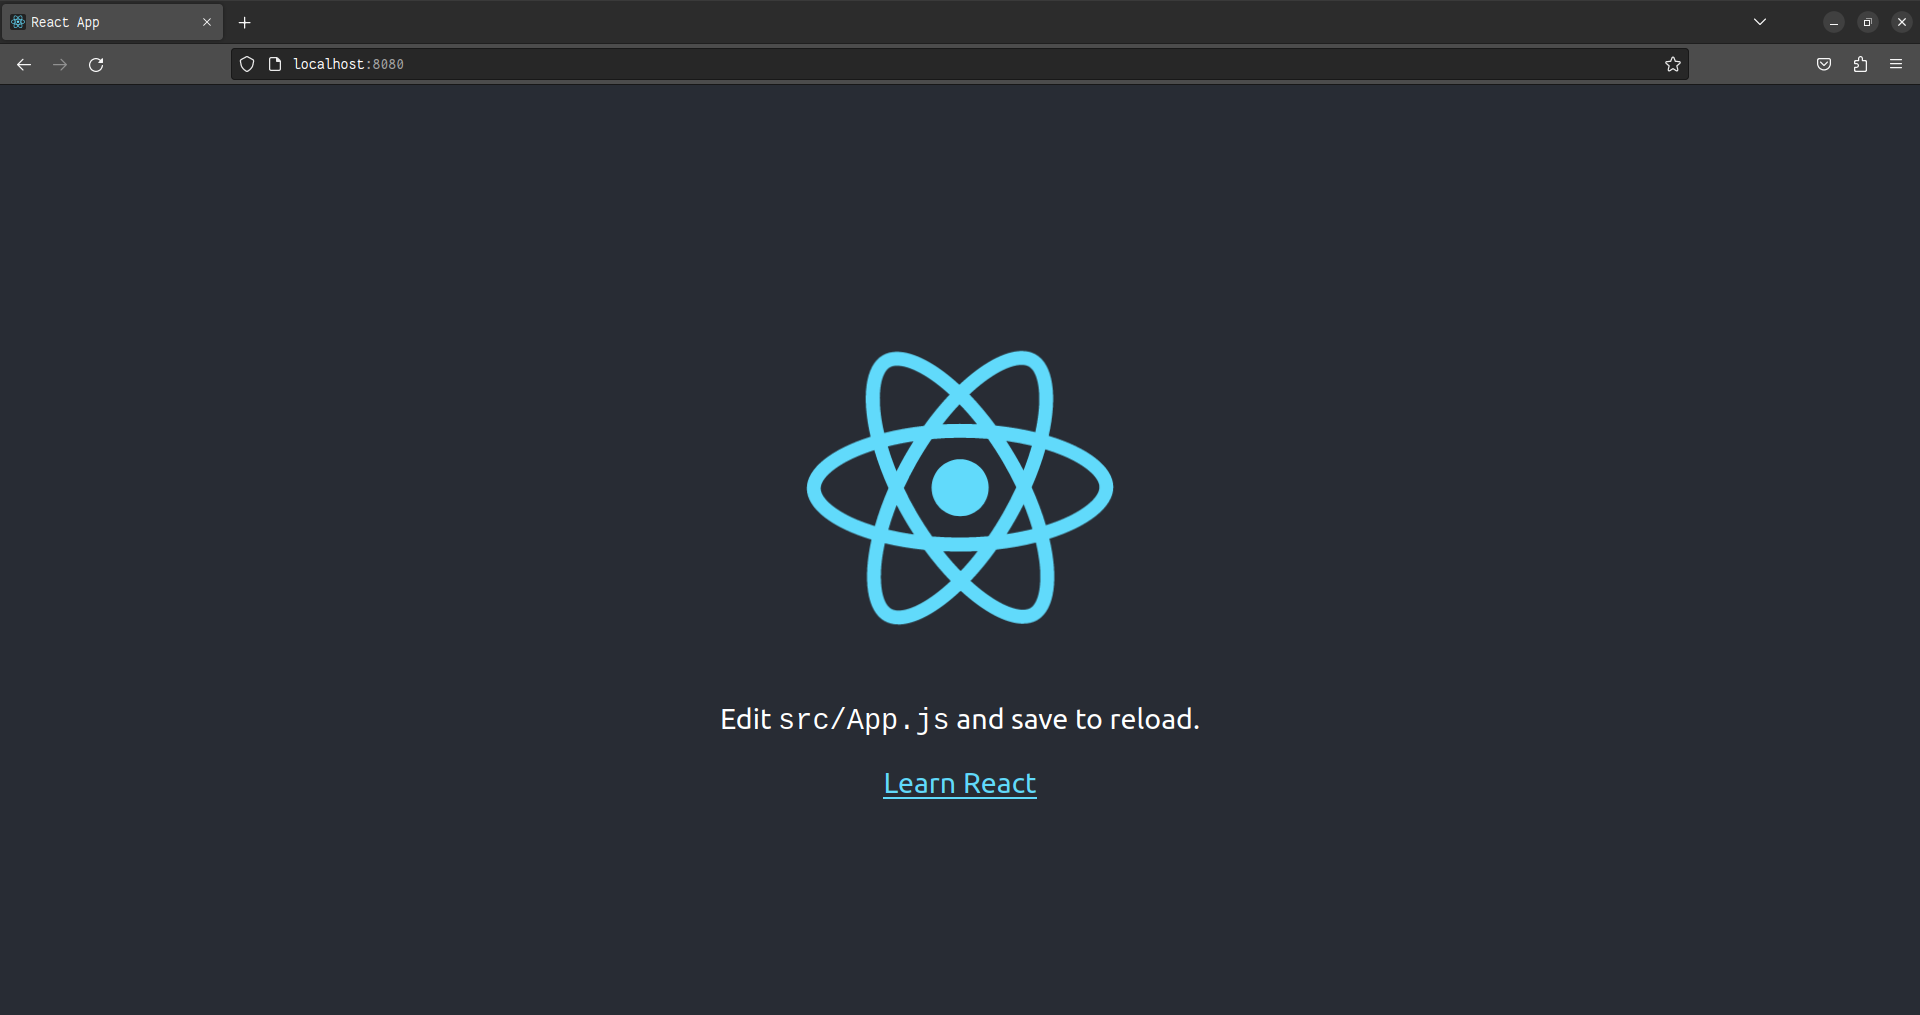
然后打开浏览器,访问 http://localhost:8080 查看 React 应用。
你应该看到如下 React 应用页面:
配置简单 API
这里使用 Express 配置简单的 Node.js 项目。
创建项目
创建 my-api 目录:
mkdir my_project/my-api
cd my-api
npm init
npm install --save express
然后在 ./main.js 中创建 API 入口:
const express = require('express');

const PORT = process.env.PORT || 3000;
const HOST = process.env.HOST || '127.0.0.1';

const app = express();

app.get('/', (req, res) => {
  res.json({ message: 'Hello World' });
});

app.listen(PORT, HOST, () => {
  console.log(`Server running on port ${PORT}`);
});
运行下面的命令测试:
node main.js创建容器镜像
简单 API 已经完成,可以为它创建容器镜像。
下面是 Dockerfile:
# From the latest nodejs lts version
FROM node:18.14.2-alpine

# Create our app folder
RUN mkdir /app
# Set is as cwd
WORKDIR /app

# Install app dependencies
# A wildcard is used to ensure both package.json AND package-lock.json are copied
# where available (npm@5+) doing this will cache this action untill package.json or package-lock.json is modified
COPY --chown=node package*.json ./

# Install dependencies
RUN npm install

COPY . .

# Set host to 0.0.0.0 to bind on all container network interfaces
# This is usefull because we will create a docker network and bind the container to it
ENV HOST=0.0.0.0
# Set the port of the our app to 80 (default http port)
ENV PORT=80
# Expose the port so we can see it during inspection
EXPOSE 80

CMD ["node", "main.js"]
别忘了 .dockerignore:
node_modules现在构建镜像:
docker build -t my-api:0.0.1 -f ./Dockerfile .测试容器镜像
测试 API 容器镜像:
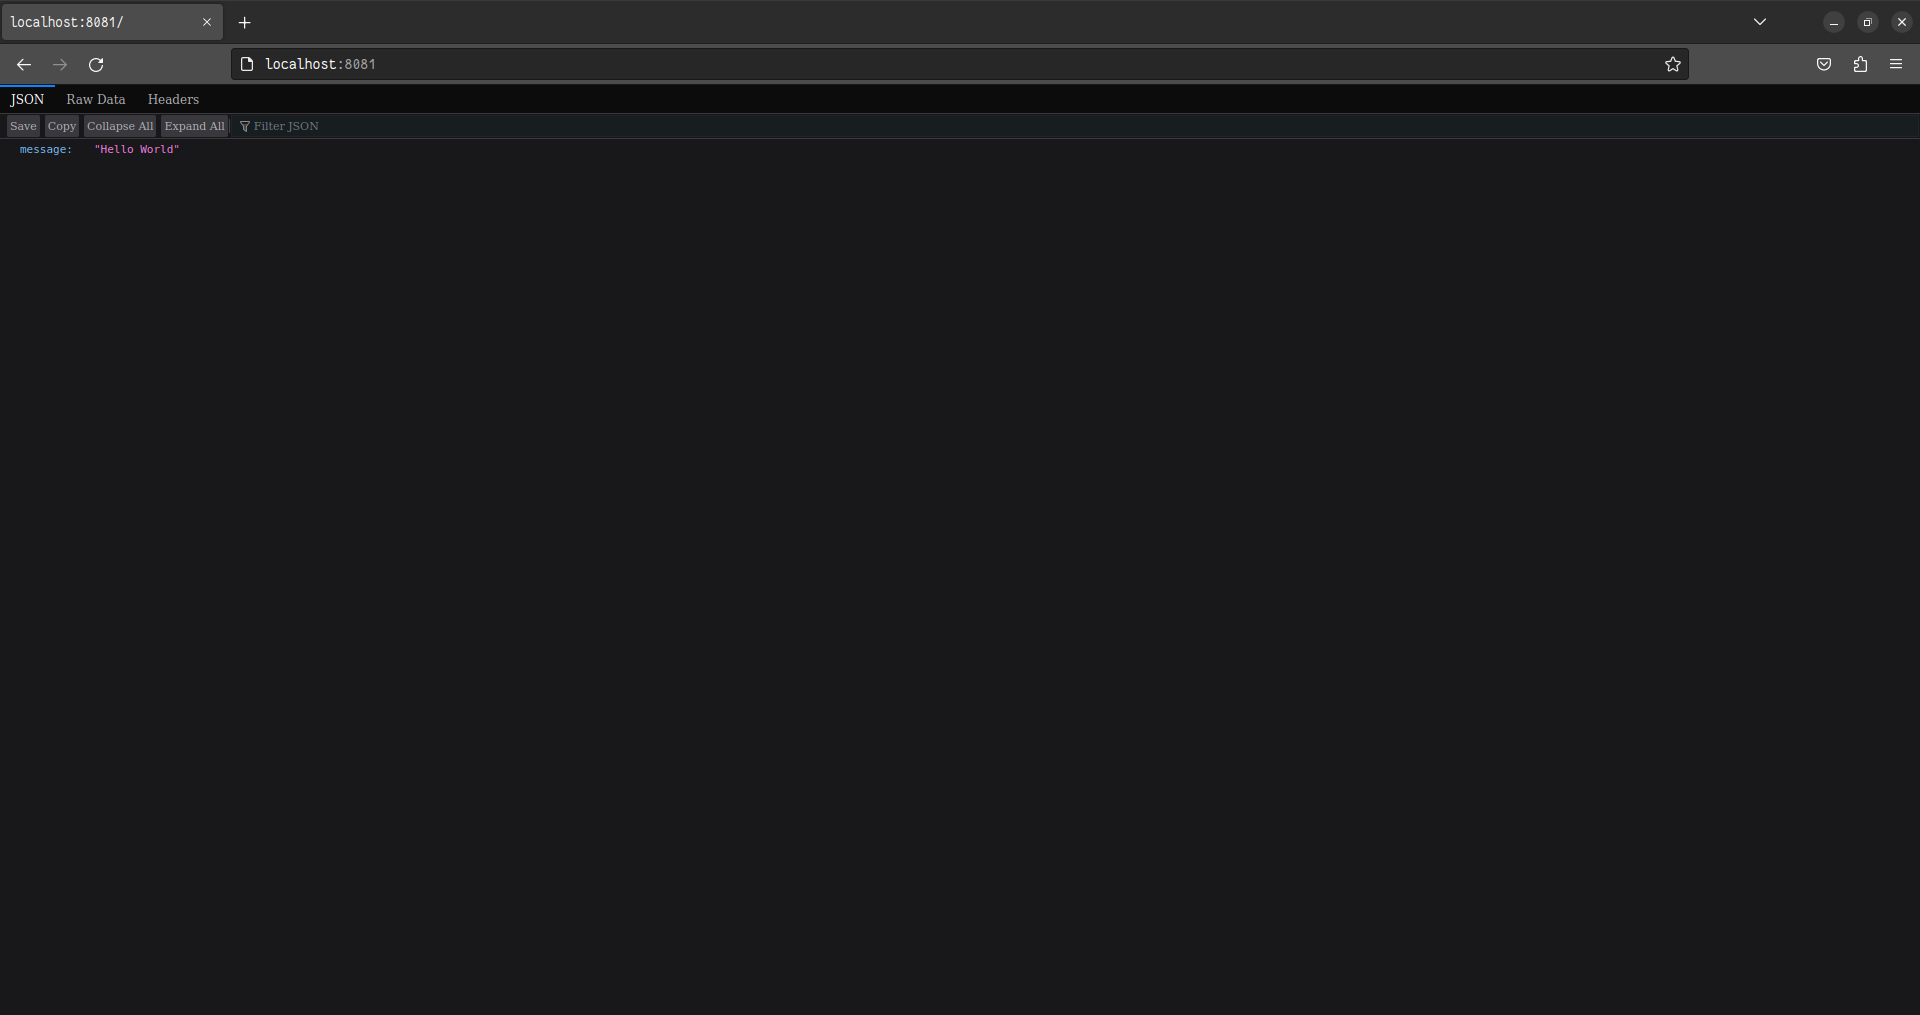
docker run -it --name my-api --rm -p 8081:80 my-api:0.0.1打开浏览器,访问 http://localhost:8081 查看 JSON 消息:
你应该看到以下 JSON 消息:
应用已经成功容器化!
接下来将它们部署到 VPS。