Containerization
Containerization is a popular technique used in software development and deployment that involves packaging an application and its dependencies into a single, lightweight container. This container can then be deployed on any machine that supports the containerization technology, such as Docker, Kubernetes or Nanocl, without the need to install the application or its dependencies separately.
Containerization provides several benefits, including increased portability, improved scalability, and simplified deployment and management. By isolating an application and its dependencies within a container, containerization also enhances security and reduces the risk of conflicts between different software components.
As containerization continues to gain popularity, it has become an essential tool for modern software development and deployment. Whether you're a developer, system administrator, or IT manager, understanding the basics of containerization can help you stay ahead of the curve and improve the efficiency and reliability of your applications.
Project Structure
Before we get started, make sure you have Docker installed on your system.
There are multiple ways to install Docker, so we won't cover it here.
Assuming you're using a mono repository, you can host your files on GitHub or any other code hosting platform.
For this guide, we'll use the following project structure:
my_project/
├── my-app/     # Frontend app
└── my-api/     # API
I'll be hosting the file for this guide on github.
So if you already know how to build container image you can skip this part and just clone the repository to follow the next steps.
To get started, create a main folder for your project and navigate to it:
mkdir my_project
cd my_project
Using this project structure, we can separate our frontend and backend services and develop them independently. This approach can simplify development, testing, and deployment and can improve the overall scalability and maintainability of your application.
So, let's create our project structure and start building our frontend and backend services!
Setting up a Simple Frontend
To set up our frontend app, we'll start by using a simple create-react-app template.
However, we recommend using Next.js or Vite if you're planning to use React.
If you're using a different framework, you'll need to build your frontend into a static directory.
By using a tool like Next.js or Vite, you can simplify your frontend development process and improve the performance and scalability of your application. These tools provide advanced features such as server-side rendering, static site generation, and more, making it easier to build high-quality, modern web applications.
So, let's set up a simple frontend for our application and start building!
Creating the Project
Let's create a directory for our frontend application called my-app using the following commands:
npx create-react-app my-app
cd my-app
npm run build
This will build a simple frontend app inside the my-app/build folder.
You'll see a message from create-react-app that says:
The build folder is ready to be deployed.
You may serve it with a static server:

  npm install -g serve
  serve -s build
Serving your frontend using a node server such as serve is not recommended due to poor performance.
Instead, we'll use a nginx container to serve our frontend.
Create your container image
To create the Dockerfile for our application, navigate to the my-app directory and create a file named Dockerfile with the following content:
# stage 1 - Build our application
# From the latest nodejs lts version
FROM node:18.14.2-alpine AS BUILDER
# Create our app folder
RUN mkdir /app
# Set is as cwd
WORKDIR /app
# Install app dependencies
# A wildcard is used to ensure both package.json AND package-lock.json are copied
# where available (npm@5+) doing this will cache this action untill package.json or package-lock.json is modified
COPY package*.json ./
# Install dependencies
RUN npm install
# Bundle app source code
COPY . .
RUN npm run build
# stage 2 - Create app image
# From latest nginx version on alpine to have a small image
FROM nginx:1.23.3-alpine
# Copy our build directory
COPY /app/build /app
# Copy our default nginx config
COPY ./server.nginx /etc/nginx/conf.d/default.conf
Before building the image, create the my-app/server.nginx file with the following content:
server {
  listen       80;
  listen  [::]:80;

  ## Auto index file in /app
  autoindex on;
  root /app;
  try_files $uri/index.html $uri.html $uri/ $uri =404;
  error_page 404 /404.html;

  ## Enable gzip compression
  gzip on;
  gzip_vary on;
  gzip_proxied any;
  gzip_comp_level 6;
  gzip_types image/webp image/png text/html text/plain text/css text/xml text/javascript application/x-javascript application/javascript application/xml font/eot font/otf font/ttf;

  ## Disable gzip for internet explorer compatibility..
  gzip_disable "MSIE [1-6]\.";

  ## Cache all static files
  location ~* ^.+\.(?:css|cur|js|jpe?g|gif|htc|ico|png|html|xml|otf|ttf|eot|woff|woff2|svg)$ {
    access_log off;
    expires 30d;
    add_header Cache-Control public;

    ## No need to bleed constant updates. Send the all shebang in one fell swoop.
    tcp_nodelay off;

    ## Set the OS file cache.
    open_file_cache max=3000 inactive=120s;
    open_file_cache_valid 45s;
    open_file_cache_min_uses 2;
    open_file_cache_errors off;
  }
}
This nginx configuration will serve the static files from our frontend for any request it handles.
Note that we will add a .dockerignore file in the my-app directory to ignore the node_modules and build directories during the build process. Here's the content of my-app/.dockerignore:
node_modules
build
This will speed up the build process.
Once the server.nginx and .dockerignore files are created, you can build the Docker image with the following command:
docker build -t my-frontend:0.0.1 -f ./Dockerfile .
You can notice few docker flags being used:
build: To build our image-t: To set the tag of our image it's usually like this image_name:versionmy-frontend:0.0.1: Is the tag i choose for the image for this guide.-f: Set the path of the Dockerfile./Dockerfile: The Dockerfile used to create our image.: The context used for the build
Test your container image
To test our frontend image, run the following command:
docker run -it --rm -p 8080:80 my-frontend:0.0.1
This will start a container and map port 8080 on the host to port 80 in the container.
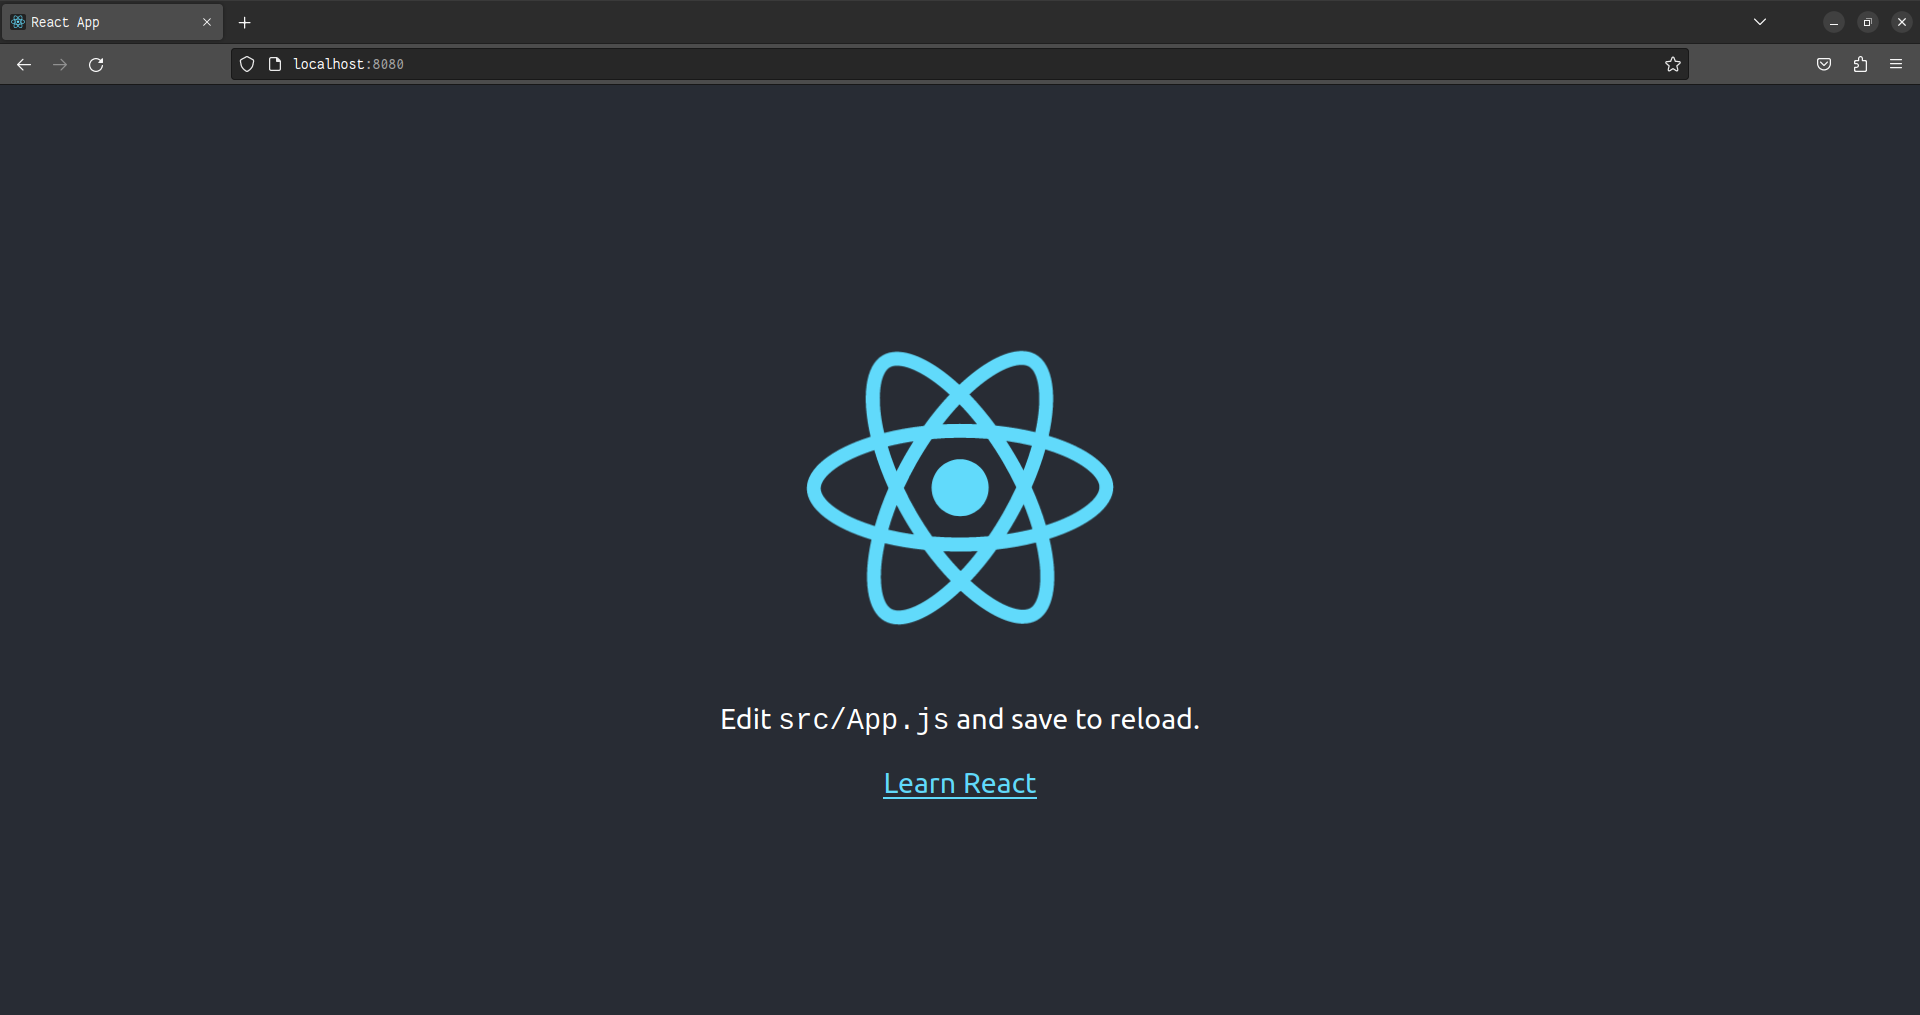
Next, open your browser and navigate to http://localhost:8080 to view the React app.
You should see the React app page, as shown in the image below:
Setup a simple API
In this guide, we'll be setting up a simple Node.js project using Express.
Create the project
Let's create the my-api directory:
mkdir my_project/my-api
cd my-api
npm init
npm install --save express
Now, let's create our API entry point in ./main.js:
const express = require('express');

const PORT = process.env.PORT || 3000;
const HOST = process.env.HOST || '127.0.0.1';

const app = express();

app.get('/', (req, res) => {
  res.json({ message: 'Hello World' });
});

app.listen(PORT, HOST, () => {
  console.log(`Server running on port ${PORT}`);
});
We can test it by running:
node main.js
Create your container image
Now that we have a simple API, we can create its container image.
Here's a Dockerfile:
# From the latest nodejs lts version
FROM node:18.14.2-alpine
# Create our app folder
RUN mkdir /app
# Set is as cwd
WORKDIR /app
# Install app dependencies
# A wildcard is used to ensure both package.json AND package-lock.json are copied
# where available (npm@5+) doing this will cache this action untill package.json or package-lock.json is modified
COPY package*.json ./
# Install dependencies
RUN npm install
COPY . .
# Set host to 0.0.0.0 to bind on all container network interfaces
# This is usefull because we will create a docker network and bind the container to it
ENV HOST=0.0.0.0
# Set the port of the our app to 80 (default http port)
ENV PORT=80
# Expose the port so we can see it during inspection
EXPOSE 80
CMD ["node", "main.js"]
Dont forget the .dockerignore:
node_modules
Now we can build our image:
docker build -t my-api:0.0.1 -f ./Dockerfile .
Test your container image
Now let's test our api container image:
docker run -it --name my-api --rm -p 8081:80 my-api:0.0.1
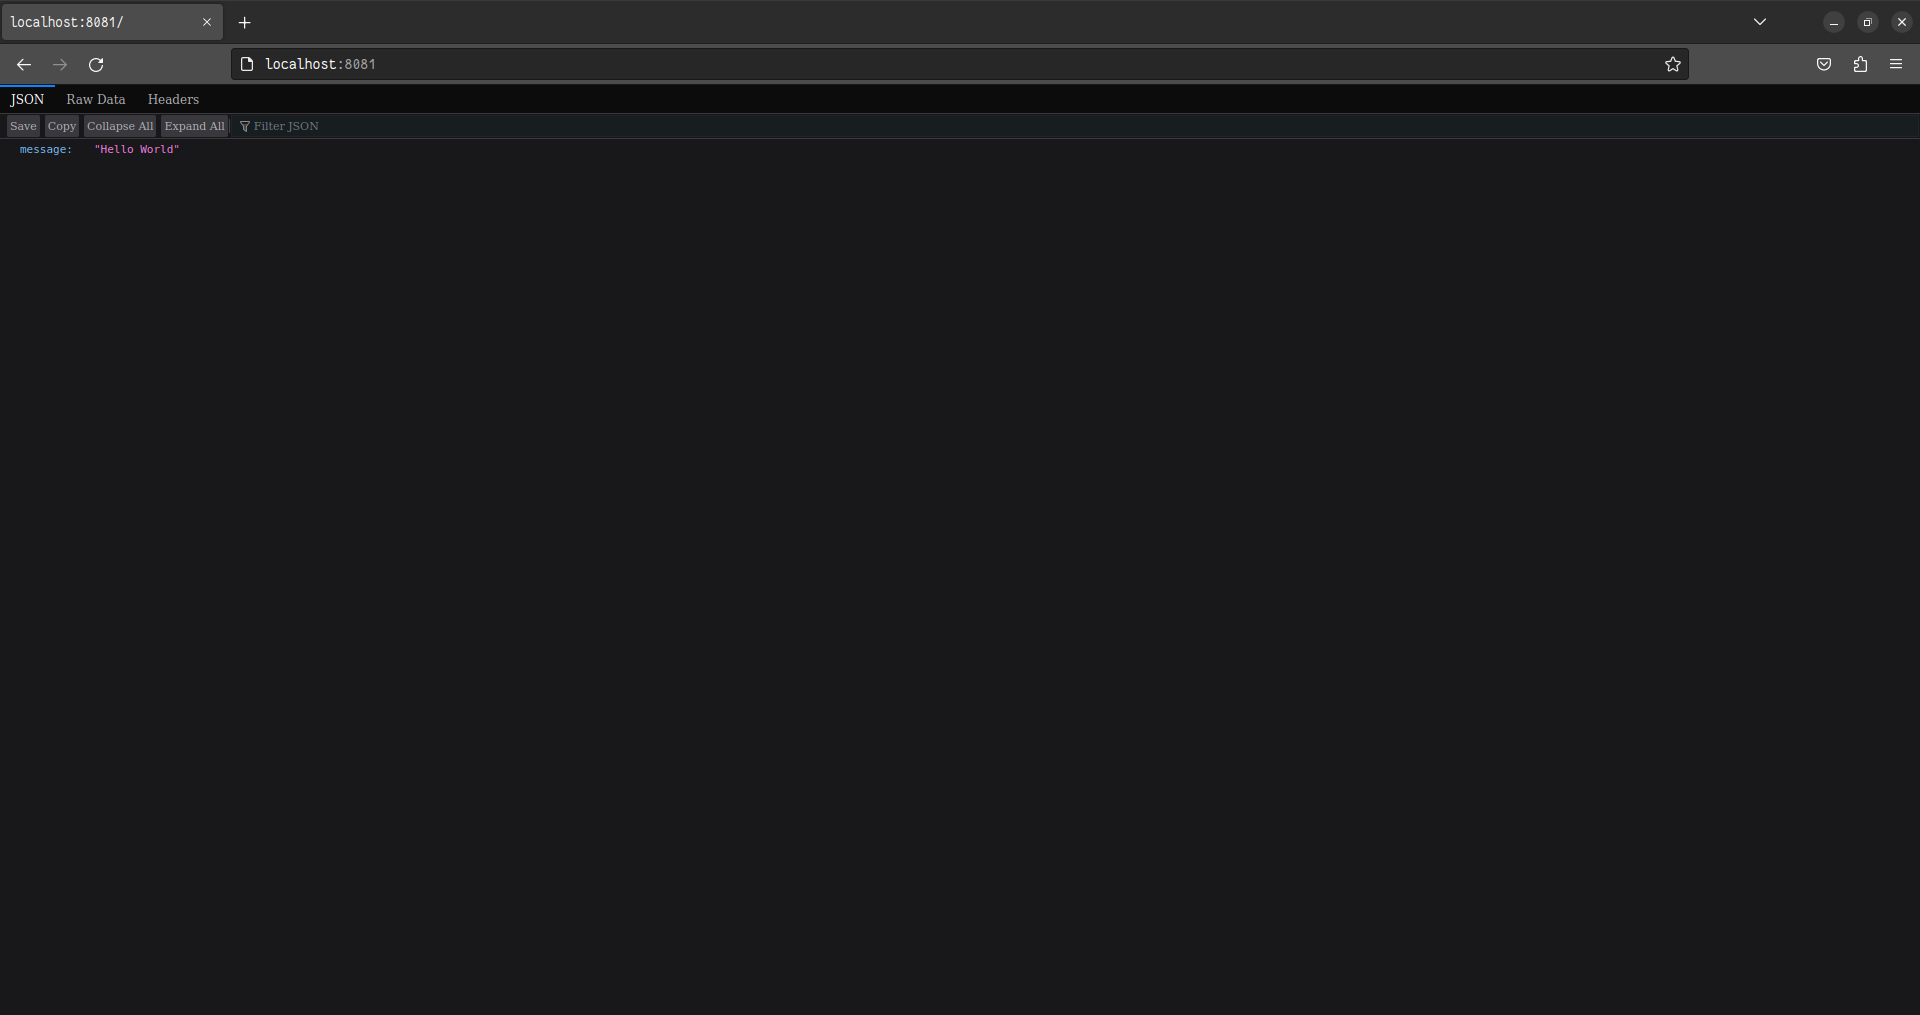
Open your browser and navigate to http://localhost:8081 to see the JSON message:
You should our json message:
Congratulations! You've containerized your applications.
Now it's time to deploy them on your VPS!